


How to Add and Remove Programs From Your Computer
1.)
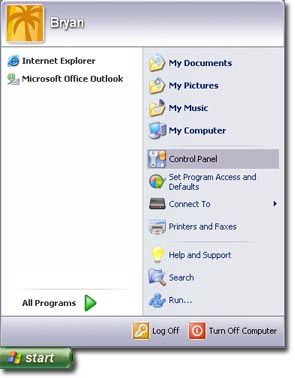
Open the start menu and click on Control Panel, in Windows XP it will be on the right pane in the middle with other system tools.
2.)
Look for an icon in the menu that appears that says Add or Remove Programs.

3.)
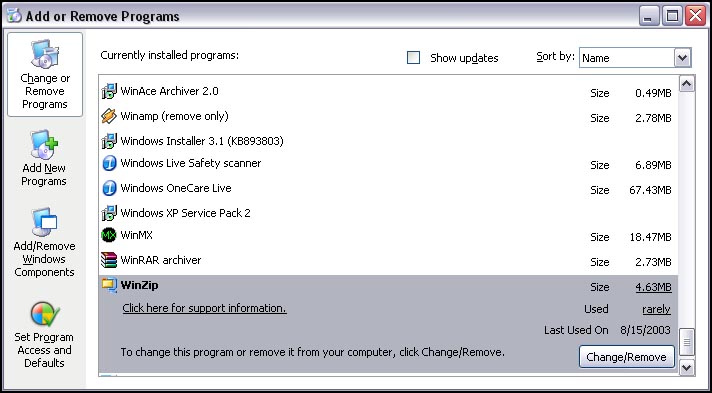
The window that appears will show you all the software listed on your computer. You have several options here to Add or Remove a program, Add or Remove Components of a selected program, or set Program Access options to a program.
|
|
Current screen, allows you to browse installed software and alter its properties or remove it from your computer |
|
|
Allows you to select a CD to install a program from, or Update windows |
|
|
Allows you to alter the installed components from Windows, or install new ones |
|
|
Allows you to select a specific program when you ask windows to perform a specific action, like choosing what program to use to browse the internet by default |