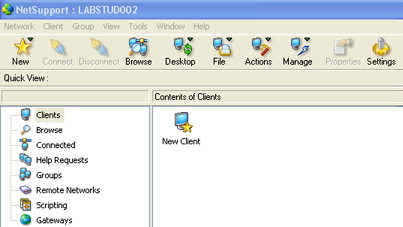
First we have to find the computers we want to connect to. To do this, we'll start by clicking the browse button on the top horizontal NetSupport menu.
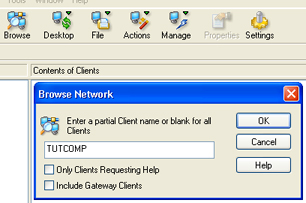
You now should be looking at the 'Browse Network' window. In the text field, you'll want to enter either the full, or some of the abbreviation for the computers you are looking for. In our classrooms, all computers should be labeled with the correct abbreviation for their location, followed by a number to designate the specific computer.
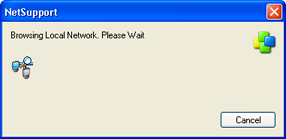
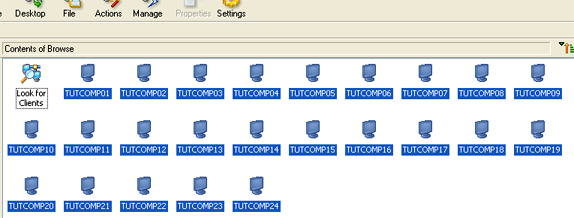
For this tutorial, we'll enter 'TUTCOMP' because by looking at all the computer in this particular classroom (Tuttleman 213) we can see that they all start with the name 'TUTCOMP', followed by a number. Leaving the bottom two checkboxes unchecked, hit the OK button. NetSupport will then begin searching for networked computers with names including the terms you specified and will then display all computers found containing that term.
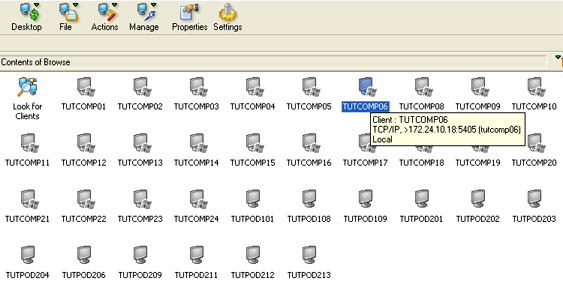
Also, you can look for a specific user logged into a computer by opening the view menu at the top of the screen, and then choosing 'Details' as your view type. This will display the users connect to individual computers.
If you're not sure what the names of the computers are in your room, you can always enter a more general search term. By only entering 'TUT' for example, you would get a listing of all the computer in the Tuttleman building. This can help you narrow down your search, but entering a more specific term will enable you to minimize the finding of unwanted computers.
When your search is complete the results will be show as below: (Again, for this example we searched "TUT:)
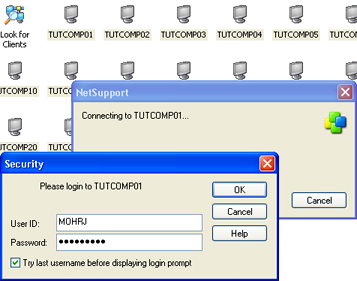
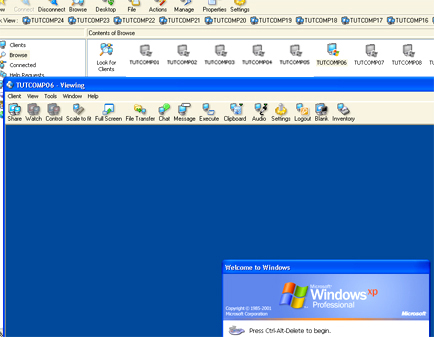
A new window should then appear showing the screen of the computer you just connected to. Also notice that in you list of searched computers, the icon for the now connected computer has 'lit up' indicating that you are connected.
For help on some of the further features of NetSupport, be sure to read on.