The easiest location to download this software is from Download.com.
From their main page, type Spybot in the search textbox and then hit the Go button.
Download.com often changes it's page design, so while the images may be
different and positioned in slightly different locations, the search bar should still always be located somewhere near the top of the page.
After a moment, your search results will appear.
Most likely Spybot will appear on the top of the list, but if not, locate it and then click the download icon.

At the next screen, you will be prompted to start your download. Hit the Run button to begin.
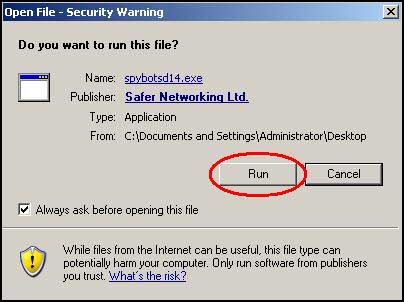
After your file downloads, you will be prompted again to run the program you just downloaded. Hit Run to commence installation.
Next you'll be prompted to select your installation language. This is set to English as default. Hit Next when ready.
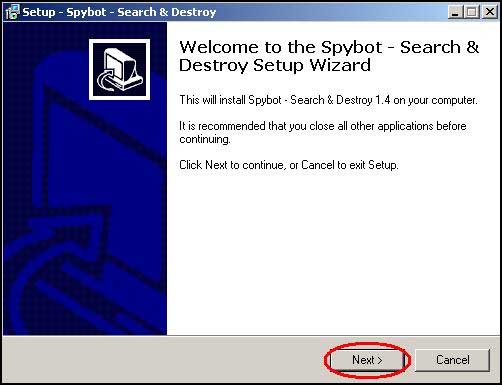
This screen is the installation welcome screen. Click the Next button to continue.
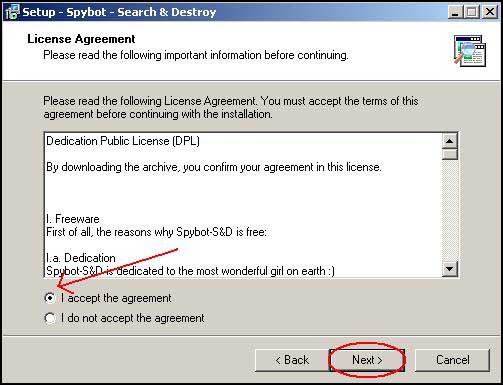
Next, the License Agreement will be displayed. You should always thoroughly read such agreements so you fully understand the legal implications and applications of the software to be installed. Once you have done this, select the I accept the agreement option, and hit the next button to continue.
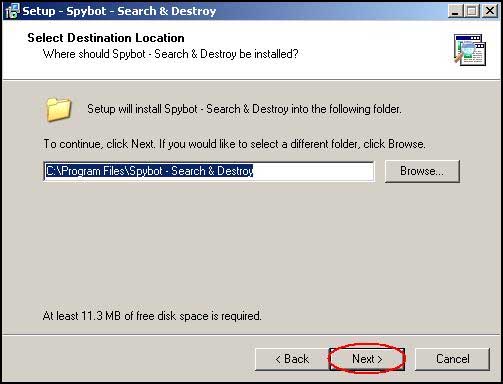
This screen allows you to select the installation location of the Spybot software. Leave this set to the default directory and then hit Next.
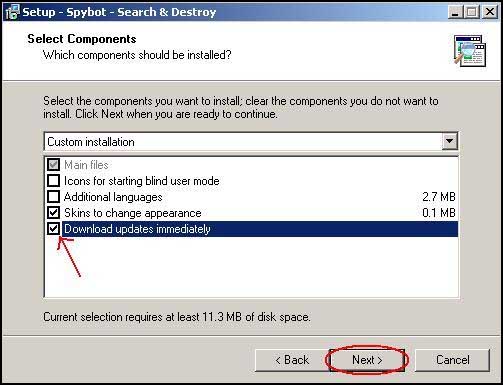
The following screen allows you to select which components you would like to install. Make sure that the last component, "Download updates immediately" is selected. The other components can be installed at your selection.
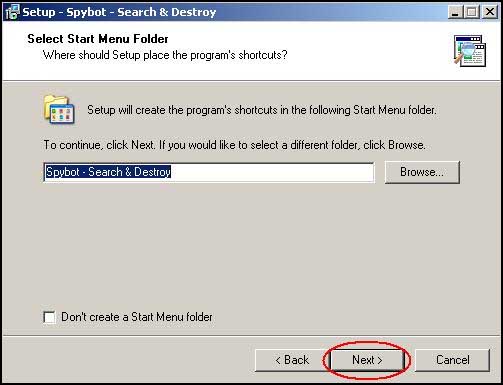
At the Select Start Menu Folder screen, simply hit the Next button.
On the Select Additional Tasks screen, make sure that the Use Internet Explorer protection (SDHelper) is checked.
Then hit Next to continue.
On next screen, hit Install to commence installation.
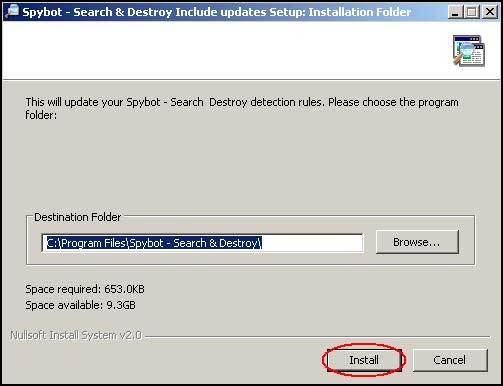
On the update setup screen, again leave the default install location in place and hit Install to proceed.
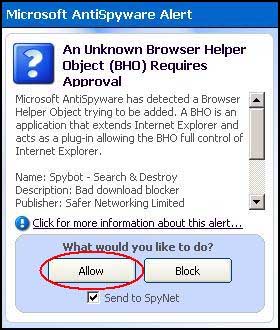
At this point, IF you already have Microsoft Anti-Spyware installed on your computer, you may receive a pop-up alert about a BHO being installed. IF you receive this alert, you MUST allow it. Any other alerts that may appear must be individually reviewed and dealt with as they are not part of this installation process.
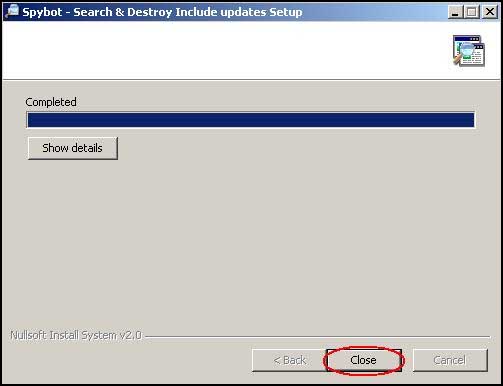
At this point, simply hit the Close button to complete installation.
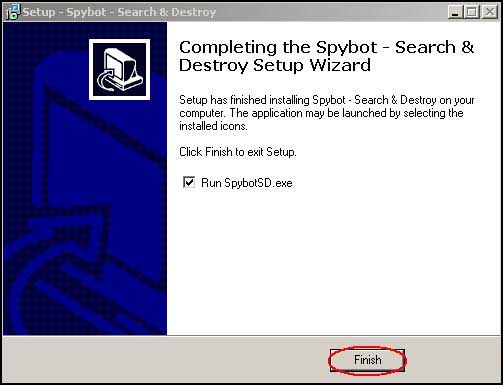
At the final screen, hit Finish to finalize installation and commence using your new software.